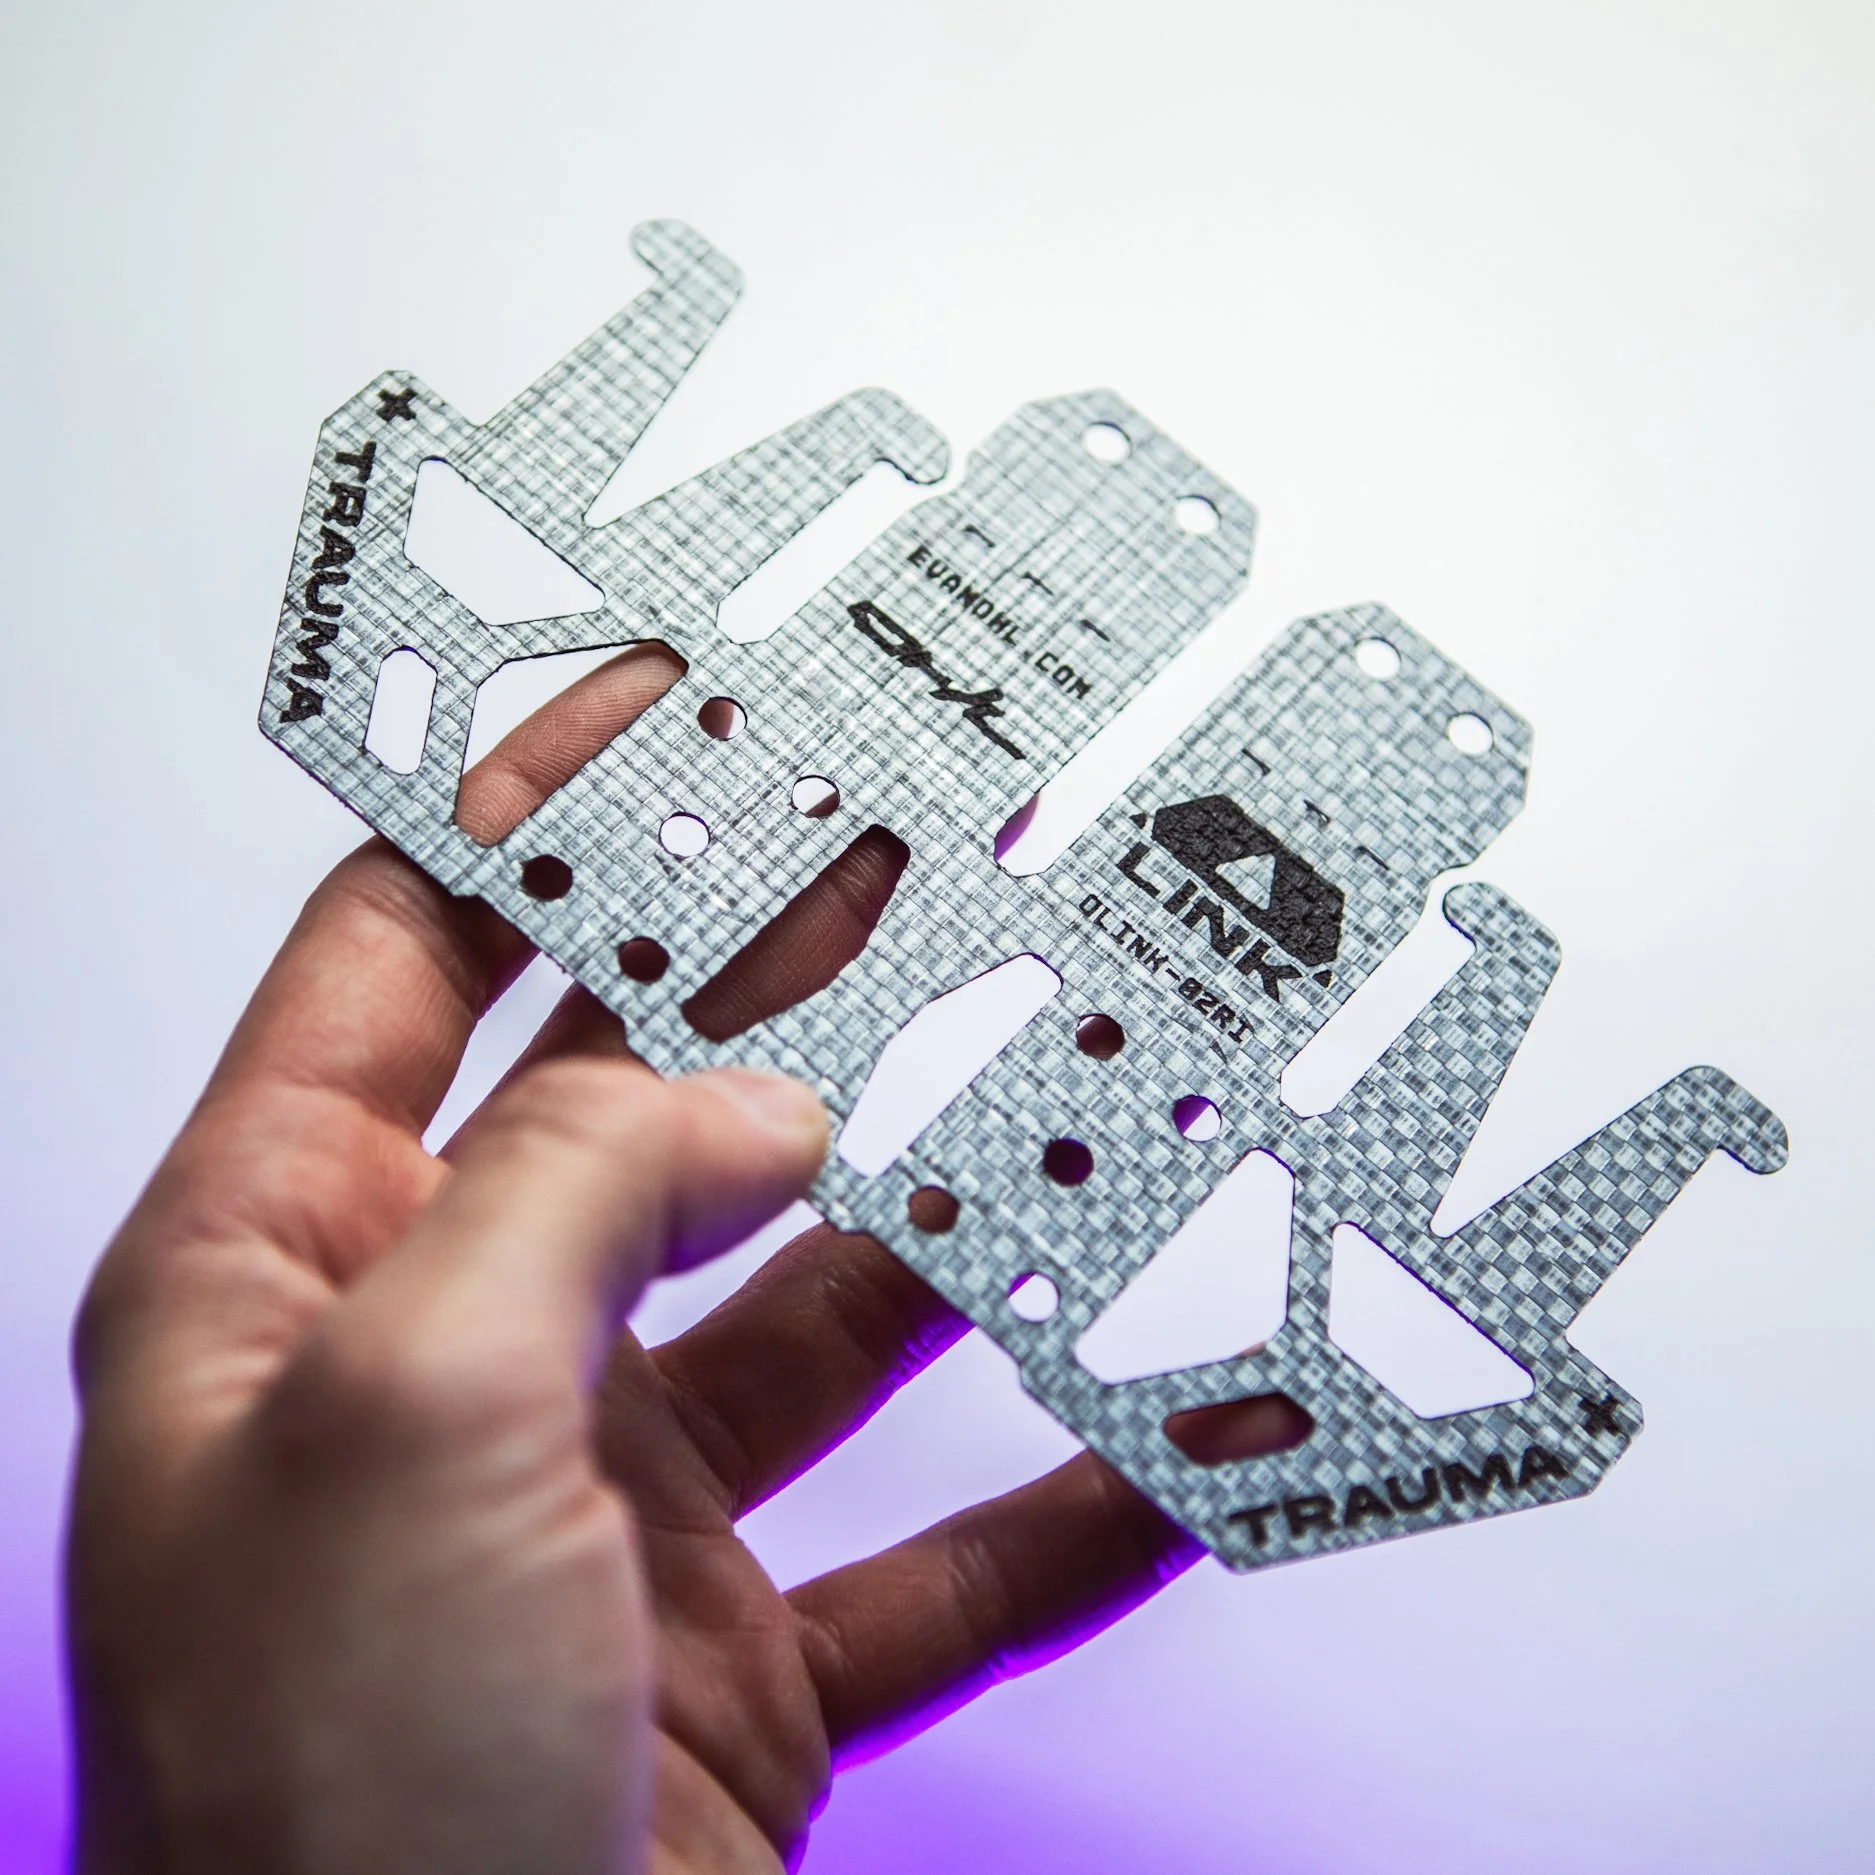
MODULAR TRAUMA PANEL
ASSEMBLY GUIDE
Step 1
Select a mounting location that won’t interfere with your body’s natural movement. The MTP is designed to be mounted directly to 4 columns/1 row of MOLLE webbing sewn at a standard of 1.5” (38mm) apart.
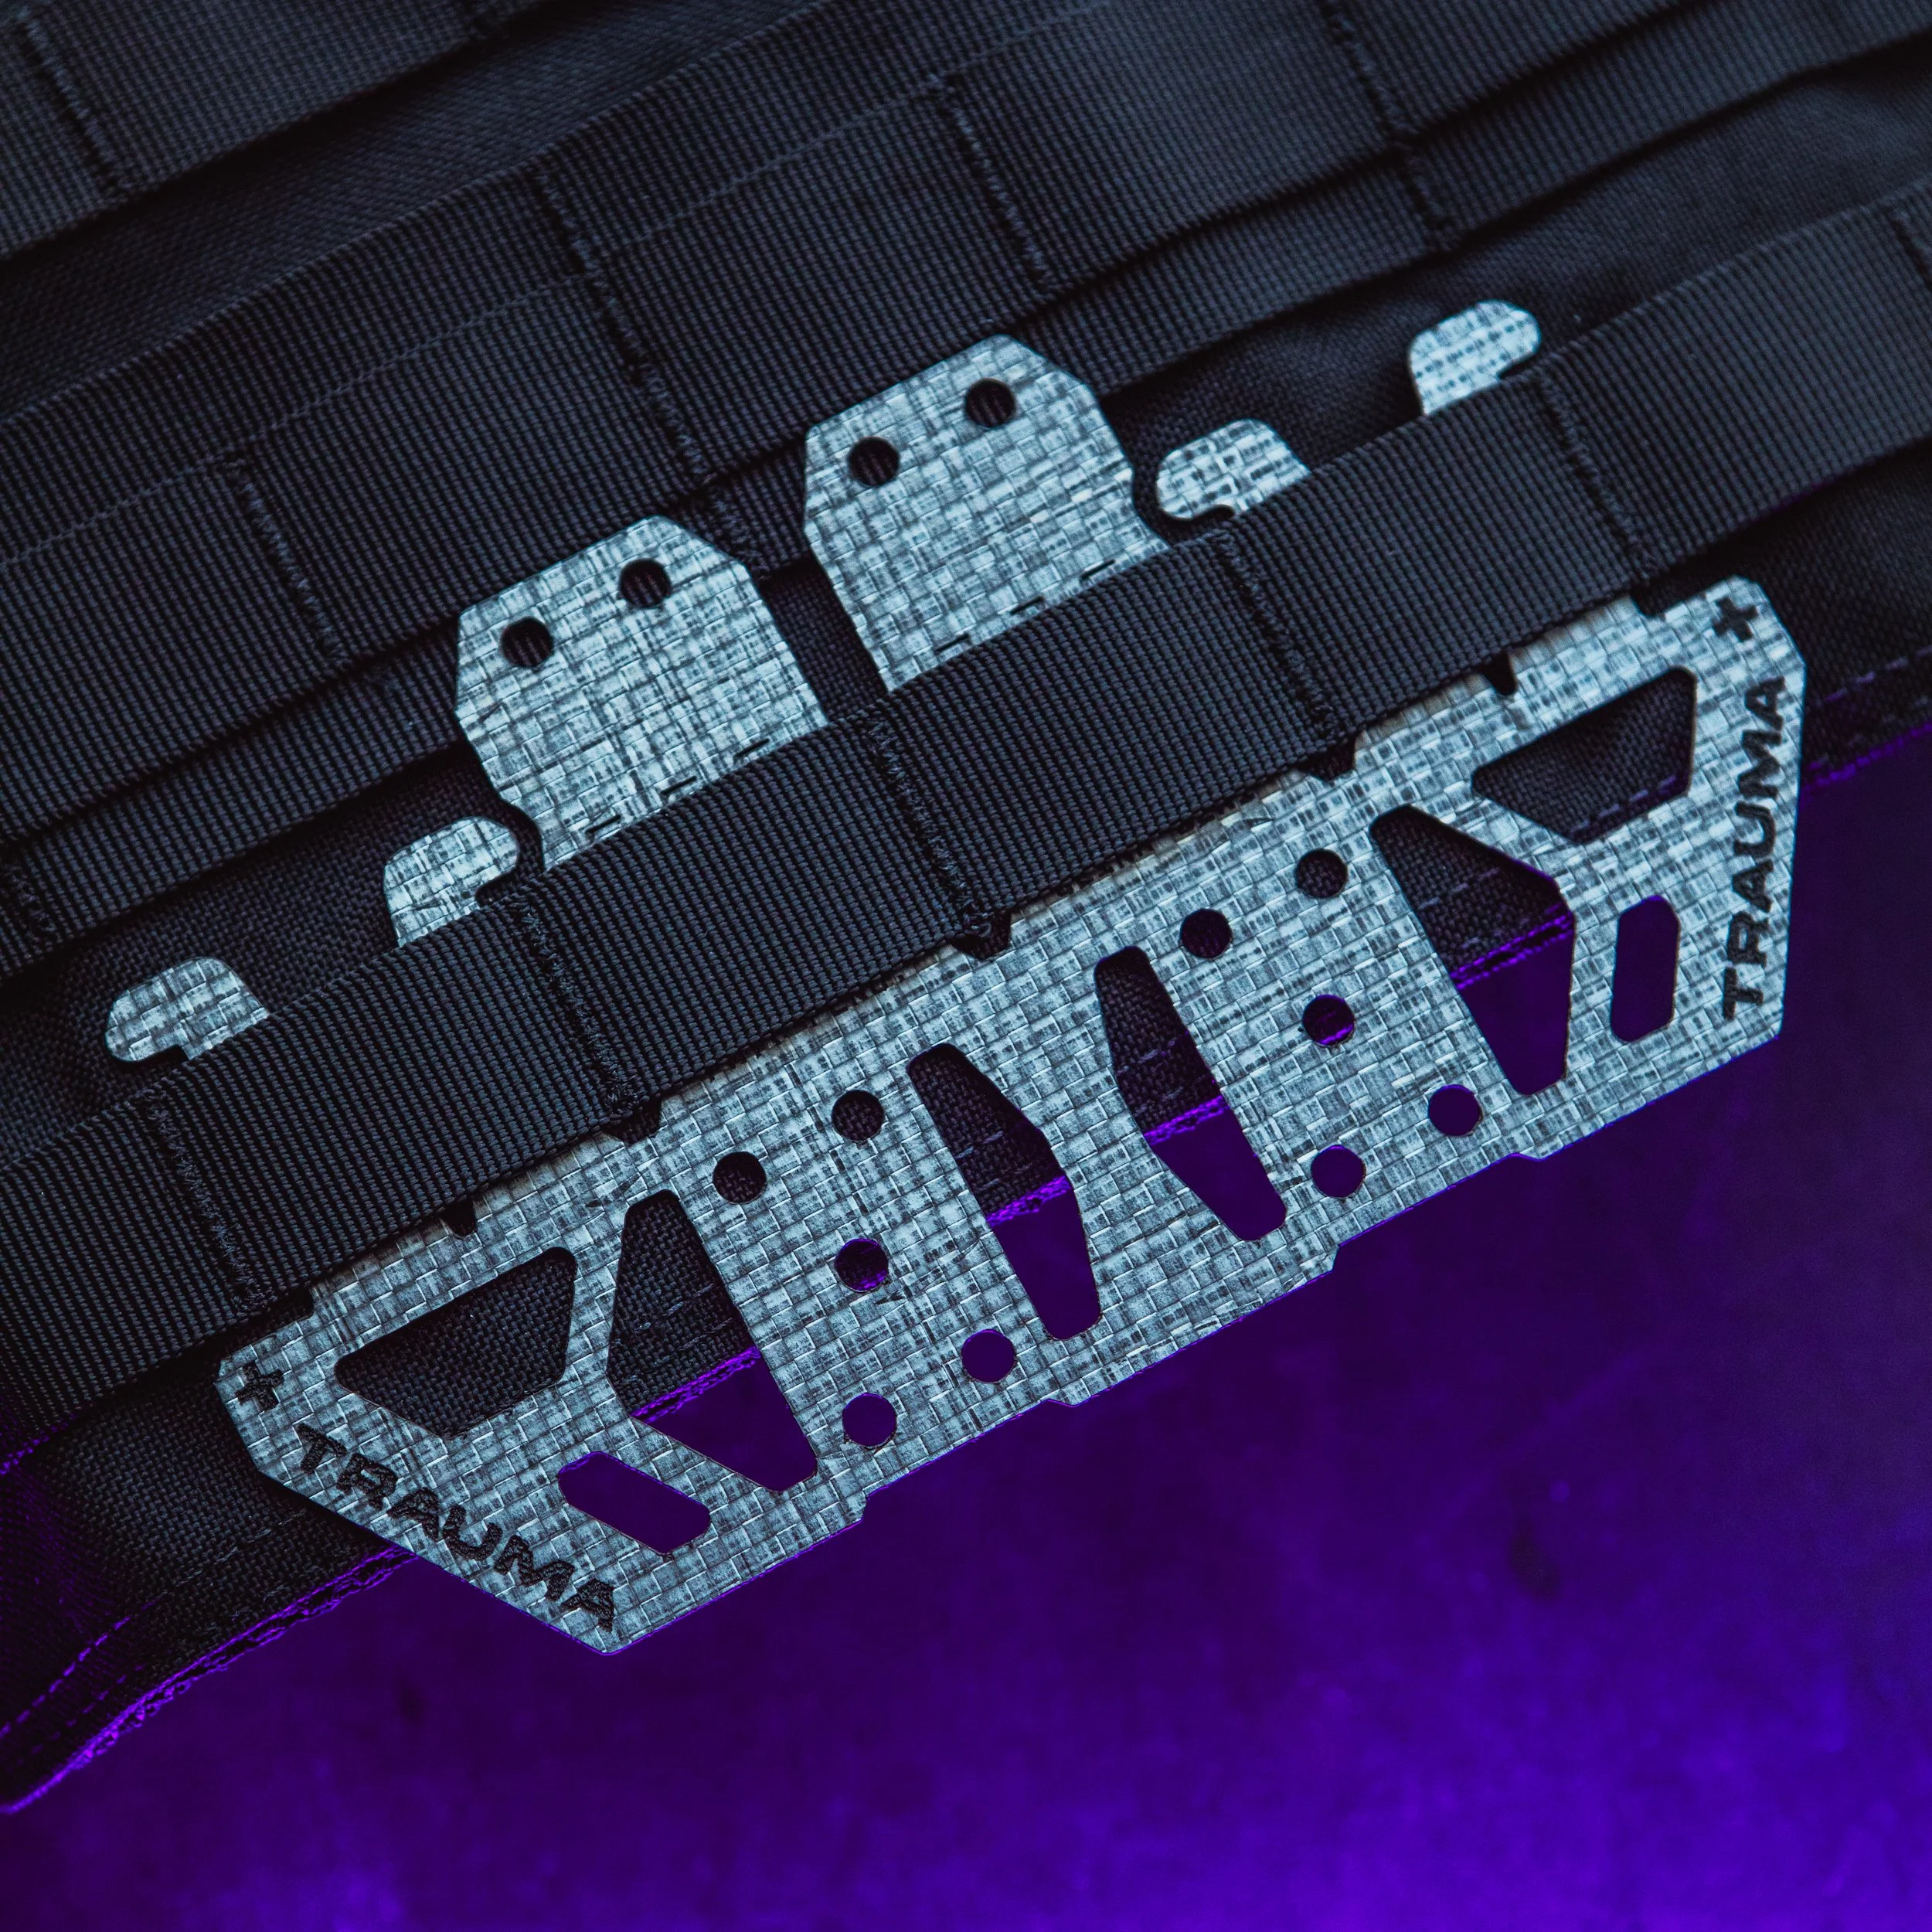
Step 2
Insert the top bungee arms of the MTP underneath the middle two MOLLE slots in your chosen row. Starting with the right or left “clips", pinch in the two top tabs and wiggle the tabs underneath the molle slot. Repeat this for the other side. Pull through using the top two arms while pushing on the bottom panel.
The MTP clips are designed to flex, and will return to their original position after the tabs are pushed through to the top of the MOLLE webbing.
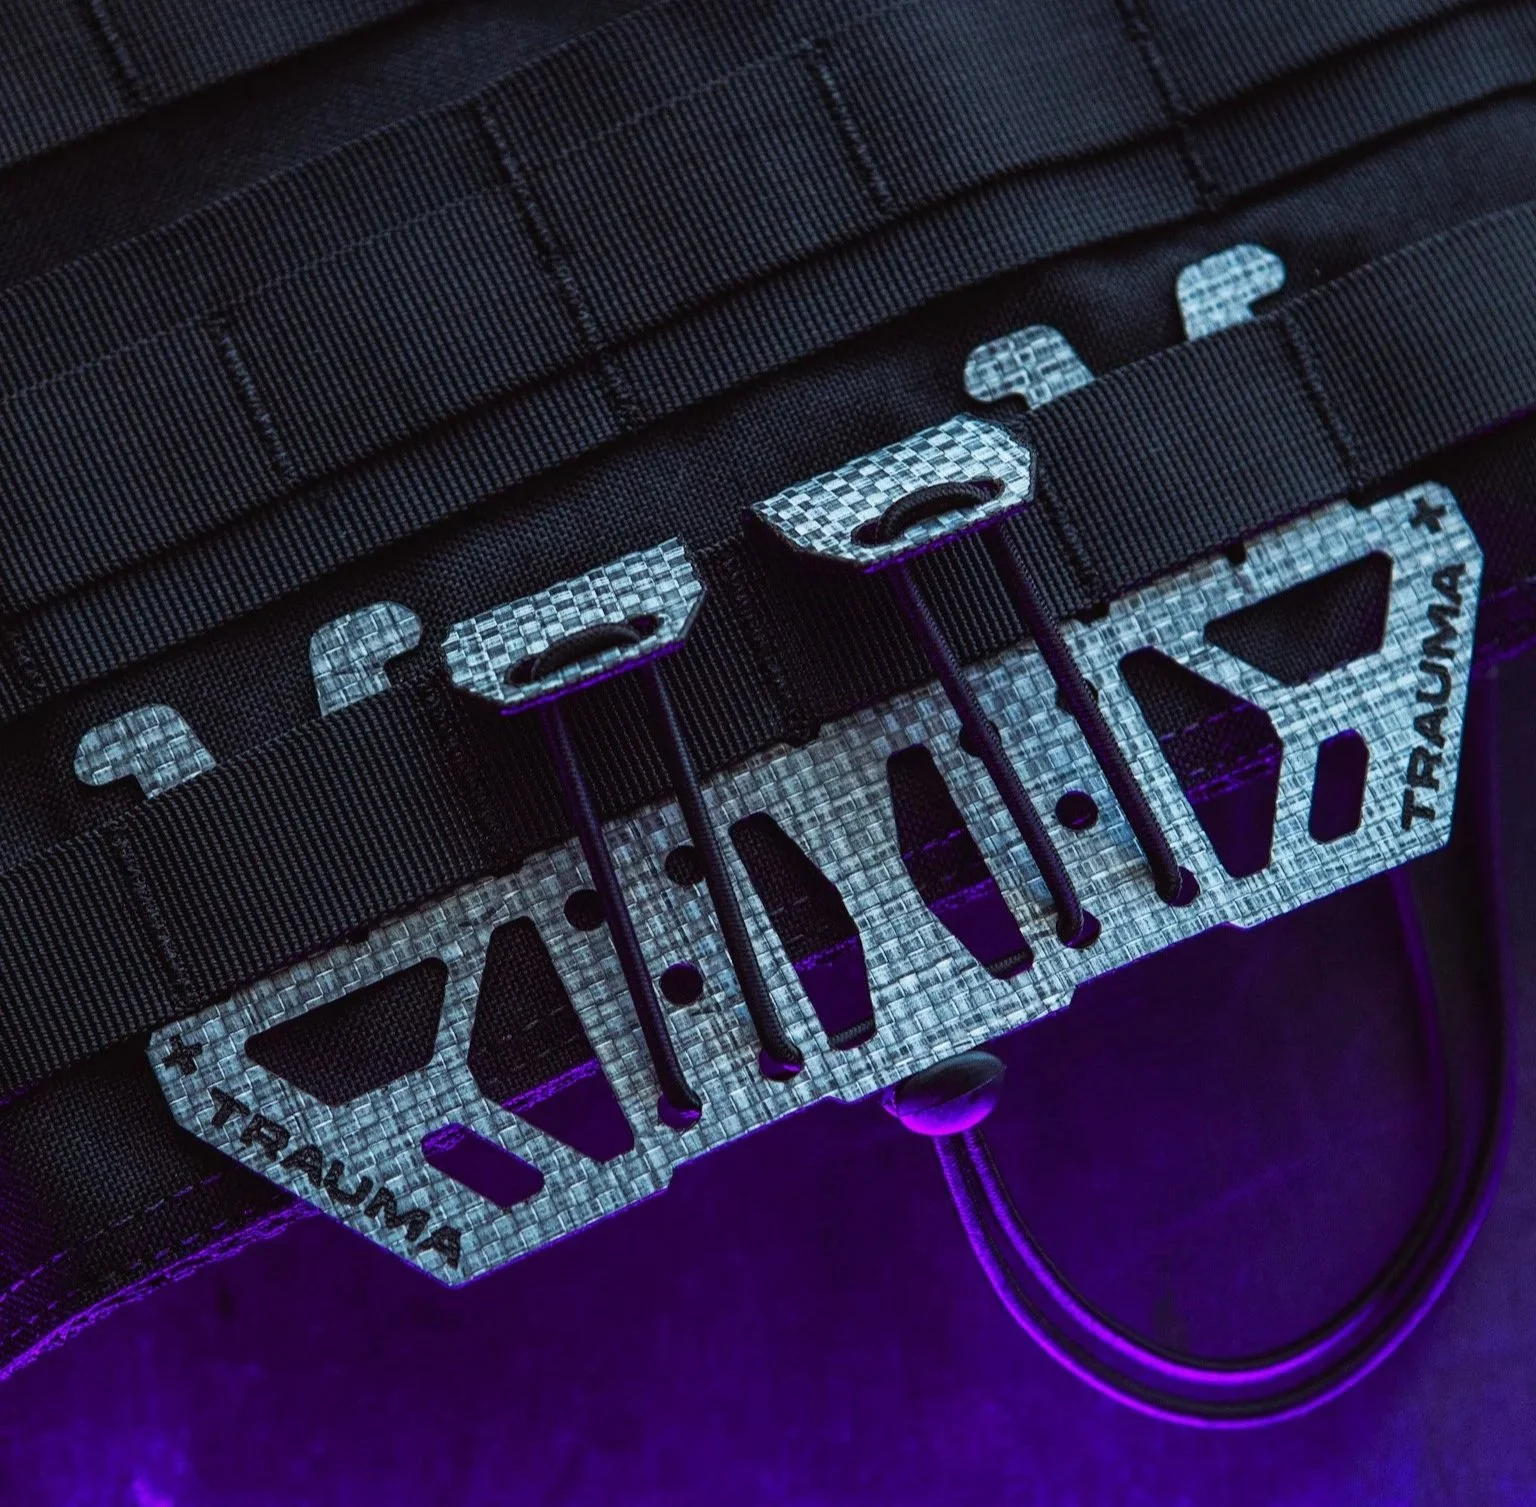
Step 3
To utilize the top two bungee arms, fold them at the dashed line, which should be right around the top of your MOLLE webbing.
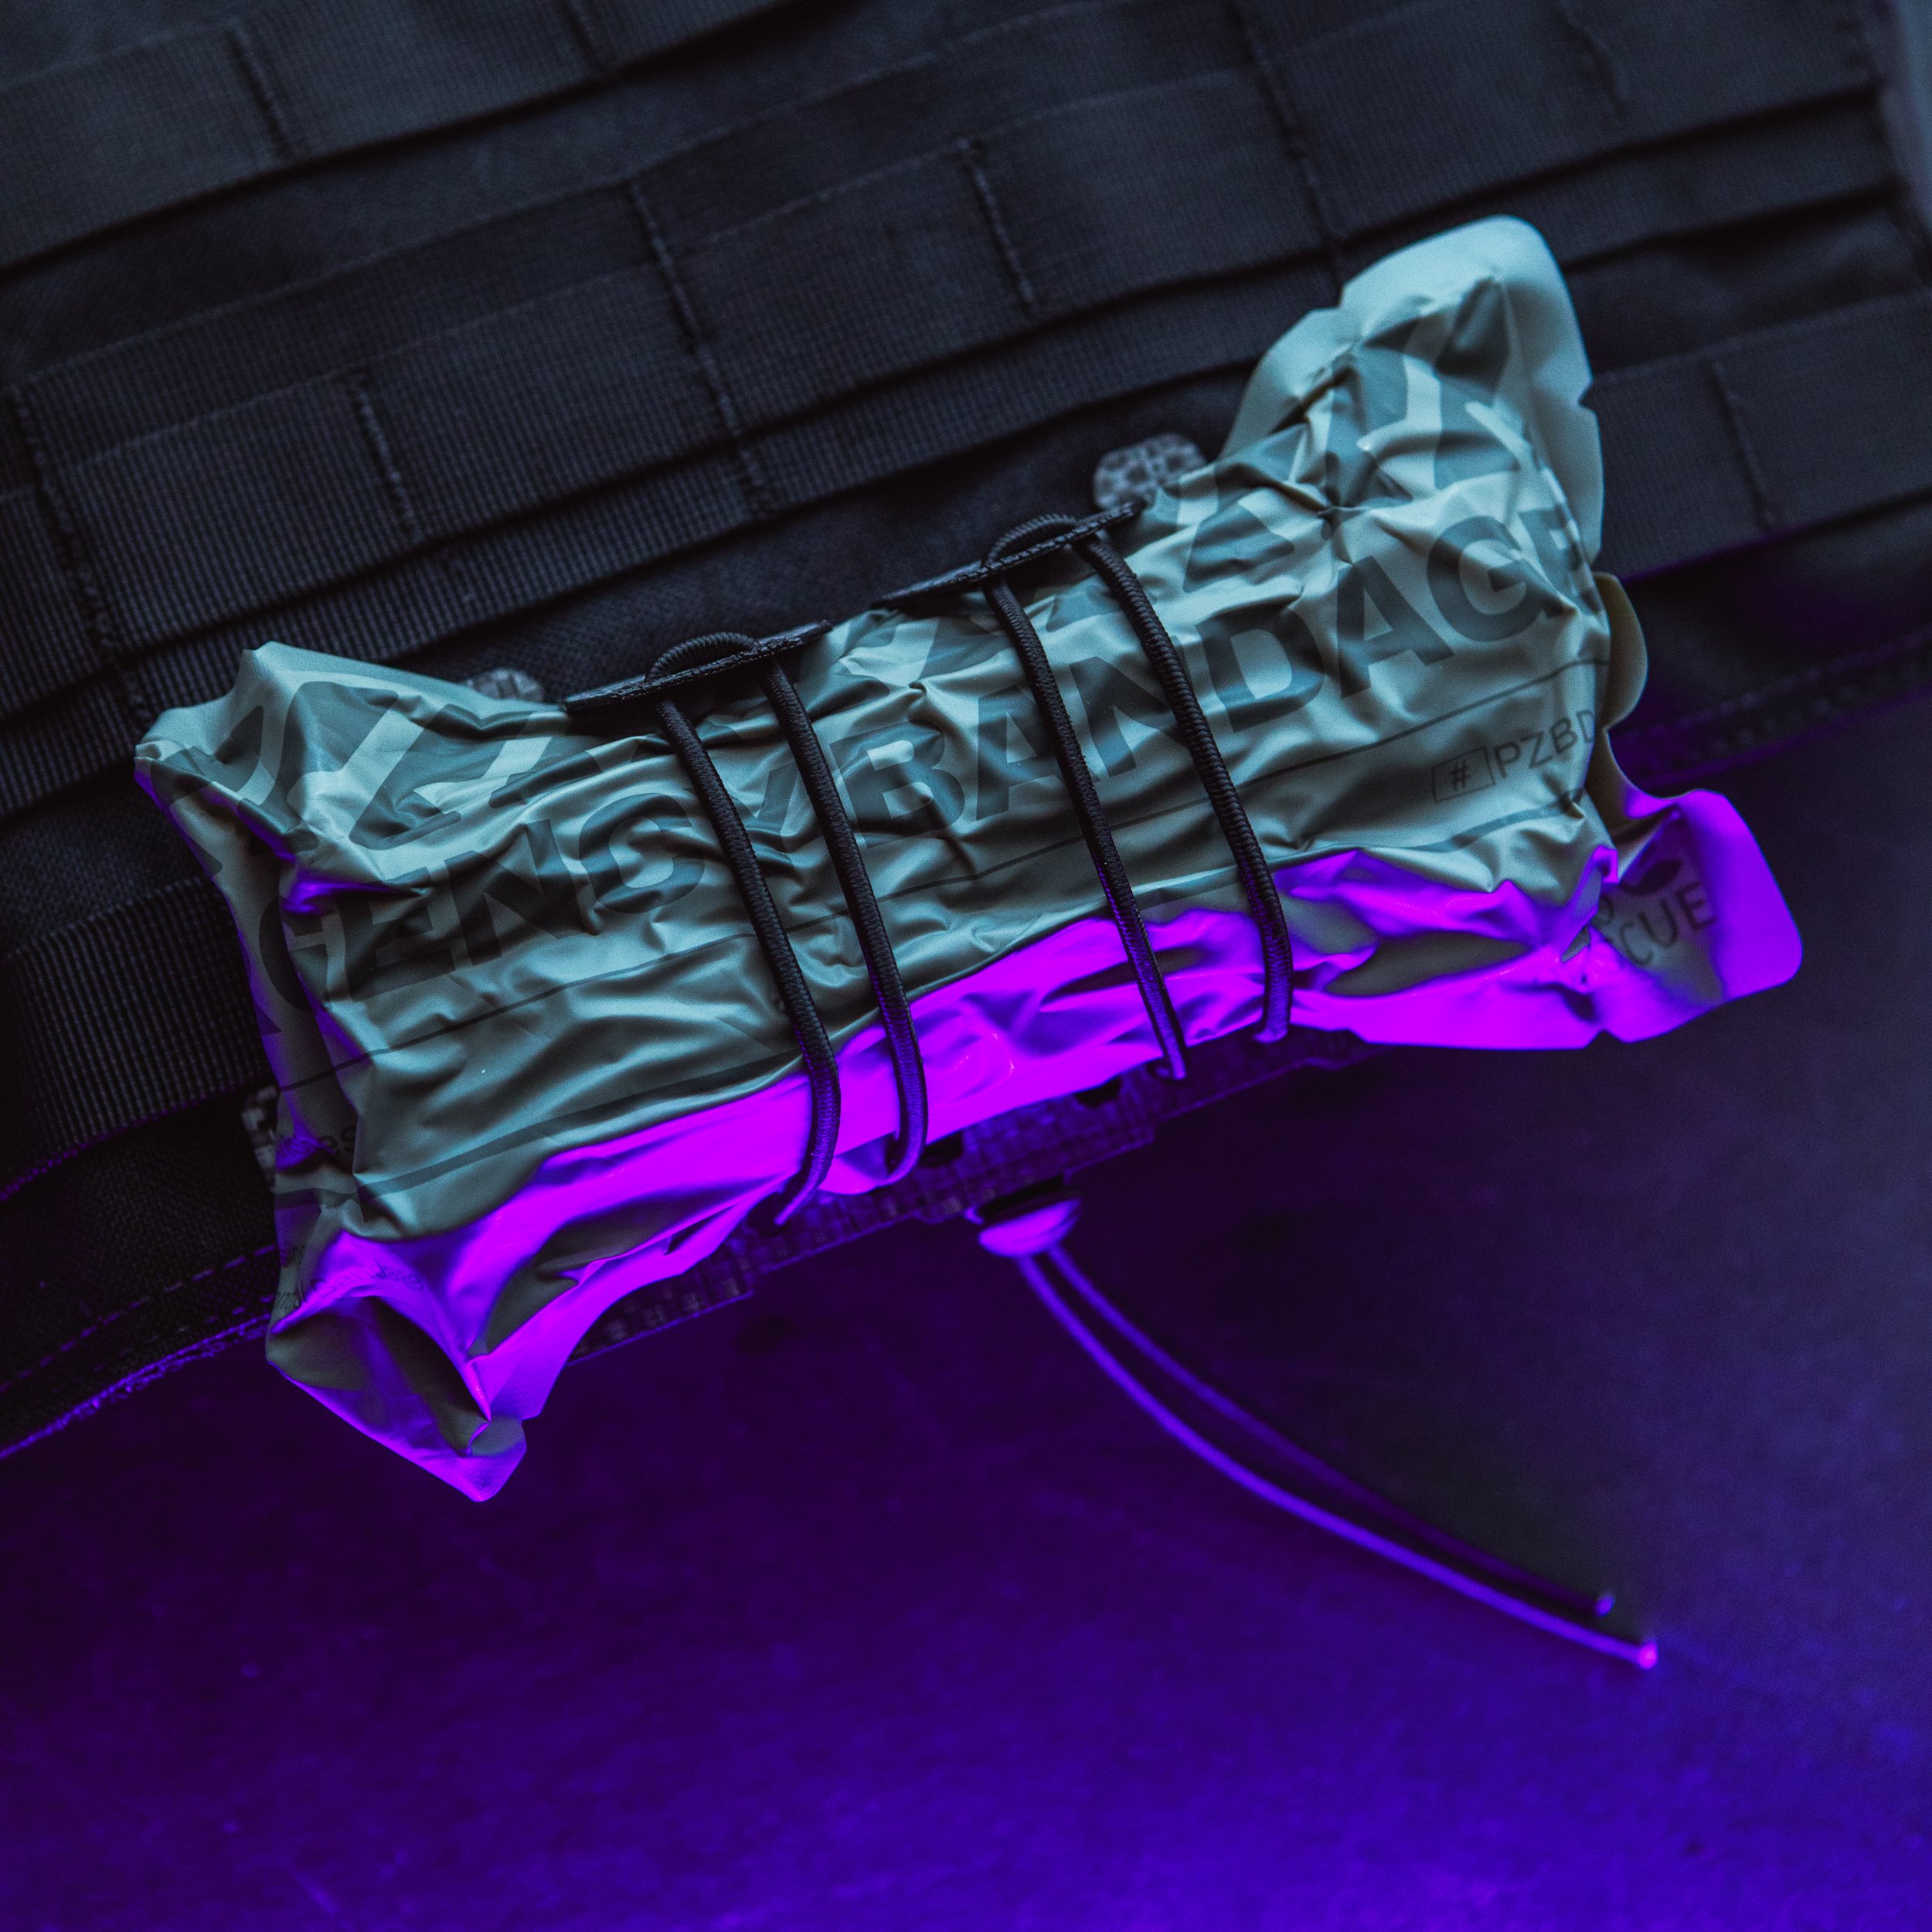
The “factory” option for the included bungee cord is shown here.
Take each end of the bungee cord and thread them through the bottom left and bottom right holes on the panel. Thread the ends through the parallel holes of the top bungee arms and back down, out through the empty holes next to the starting points. This should form 4 vertical lines of bungee cord like the image here.
Secure with included cord lock to your own liking. It is recommended to tie a square knot at the end of both loose bungee tails to prevent the cord lock from being removed during use.
step 4
The MTP is designed to accept a variety of medical accessories such as bandages and tourniquets, as well as rolled ultralight garments, thermal caps, or anything else that fits within the bungee system.
The hole placement allows for multiple configurations, which can be on their own cord lock system if you use separate bungee cords.
For flush mounting under a pouch set, keep the top arms of the MTP straight (flat/flush to the Cordura) and weave your pouch’s MOLLE straps over them. Utilize the bungee holes on the lower panel for this configuration.
Image shown is the factory configuration.